I have been slowly getting back into the swing of things in my little scrap nook and I noticed that I had no place to keep my Studio G stamps that you can get for $1.oo. So I made a box to keep them in. I thought that I would share this box with you all! Enjoy!

I used poster board but you can use heavy wieght cardstock.
Cut your base to 12" x 7 3/4"

Since I used white, I created my own pattern by first Sponging a little color
then by stamping with a background stamp.
After I was done with that I clear embossed some images
for a reverse embossing technique.


When I was finished with that I sponged with Chocolate ink
to make the embossed images stand out.
Flipping the base to have the wrong side up,
score 2 9/16 of an inch at all sides.

Then cut the corners off as shown
then cut along the score line torwards the middle as shown.

Then fold up at the score lines and tape up the corner flaps to the inside.
The base is complete.

The top is created in the same manner with these measurments:
Cardstock~ 9 3/8" x 5 3/8"
Score at 1 1/4" on all sides.
Sorry that this photo doesn't show the lid finished.

To make the dividers for the inside,
I just cut squares at 2 1/16" and used half circles for the tabs.
Thanks for visiting and I would love to hear about your creations!

 So I eventually decided on the waterfall Valance. Love the look of it. I made 3 the other day and had to go back to the store to get more fabric yesterday. I finished the other two valances today.
 Right now they are hanging on tension rods only because I am waiting for my bay window curtain rods to come in and I am very impatient and wanted to see them up. lol


 And what a nice picture to leave you with. Katie with a beautiful smile and Joe............ well, he's Joe. What can I say. ;-)

 I am working on a video that will show you how to recreate the glittery image using the Dryer sheet


 Here is a picture of some of the Art work created with this stamp set.
 Today was Matt's first day and I do have to say that all has gone well. He may have to disagree since there was some math homework to do. But other than that he has survived. Now I just need to get the other one to start and all will be well.


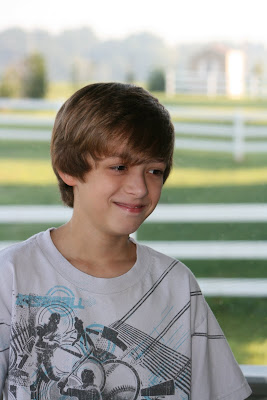
 I tried to get some semi good pictures of the boys but they just weren't having it. This is what I ended up with.

 Joe, Dana and Katie came over for Easter dinner and I had an egg hunt for Katie in our back yard. She had a good time but after the first 3 eggs she would point to the next one wanted me to get it for her.


 Then fold up at the score lines and tape up the corner flaps to the inside.


